Example: SSH Security Zone
In this example, we will conceptually set up a security zone for a production and development environment.
To begin, imagine having four hosts, h1 through h4.
Tag h1 and h2 with “dev” and tag h3 and h4 with “prod”. So we have two hosts with host tag “dev” and two hosts with host tag “prod”.
Create two SSH keys, k1 and k2. Add k1 to the authorized_keys file for a user on hosts h1 and h2 (the “dev” tag hosts), and add k2 to the authorized_keys file for a user on hosts h3 and h4 (the “prod” tag hosts).
Our goal is to ensure that only credentials that allow prod access are on the prod servers; that is, we do not want the dev keys (or any other keys) to be allowed on prod servers. So, key k1 appearing on hosts h3 and h4 would be a "Bad Thing". We want to establish an SSH Security Zone for production hosts that limits the SSH keys that are allowed.
SSH Security Zones operate exclusively on host and key tags; you cannot pick individual hosts or keys to add to zones. They must have tags applied.
First, ensure the hosts are tagged in such a way as to support our objective. In this case, they already are: dev and prod hosts are easily distinguishable by the “dev” and “prod” hosts tags.
Second, tag your SSH keys so they can be permitted by a zone.
So in this case, we will add a tag “dev_key” to k1 and tag “prod_key” to k2. (The SSH and host tag names do not have to be different – you can use just “dev” like we did for the host tag, but for the purposes of writing documentation, avoiding confusion between what is a host tag and what is a key tag is probably ideal.)
Third, create the SSH Security Zone using the "Create Security Zone" form which comprises of 3 steps.
Step 1: Specify Hosts
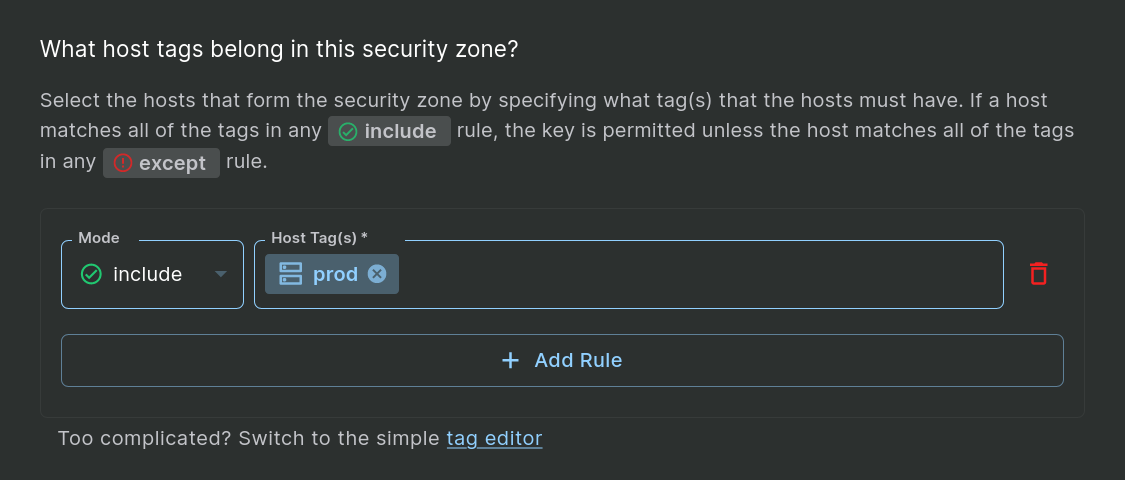
The first step of creating a zone is to decide which hosts are part of the zone. In this example, we want our hosts with the “prod” tag to belong to the zone.

Step 1: Include a Single Host Tag
Complex Policies
The simple example above uses a single tag. You can build more complex policies by adding multiple rules and including more than one tag in a rule. For example, imagine we have lots of “prod” hosts and need to manage which keys are allowed on them more fine-grained than just treating them all the same. We may have “prod” “web” hosts, “prod” “database” hosts, “prod” “proxy” hosts, etc. If you only want the keys permitted by the zone to be allowed on the prod web and proxy hosts, but not the database hosts, you could set up two host tag rules: one that requires both “prod” and “web”, and one that requires both “prod” and “proxy”:

Step 1: Include Multiple Host Tags
The ‘&’ is added automatically when you add multiple tags in a single rule to remind you that the hosts must have ALL tags in the list to qualify. If a host matches any include rule, the host will be in the zone. So tags in a single rule are ANDed together, and the include rules themselves are ORed together.
Alternatively, you can accomplish the same result by creating a zone that includes all prod hosts EXCEPT the prod database hosts. Using the “except” Mode within a rule accomplishes that:

Step 1: Include a Host Tag + an Except Host Tag
This zone will include all hosts that have the “prod” tag EXCEPT the hosts that have the “database” tag – even if the “database” hosts also have the “prod” tag. The “except” rules always take precedence over the “include” rules in determining which hosts are in this zone.
It is important to note that if you only have “except” rules, then there is an implied “include all” rule that includes ALL hosts known to Sandfly, then removes only the hosts that match the “except” rule(s) from the zone.
CAUTION: An "include all" rule is implied when there are only "except" rulesWhen having only “except” rules, there is an implied “include all” rule that includes ALL hosts known to Sandfly, then removes only the hosts that match the “except” rule(s) from the zone.
Back to the example, we will simply create the zone with a single include “prod” rule.
Step 2: Specify Keys
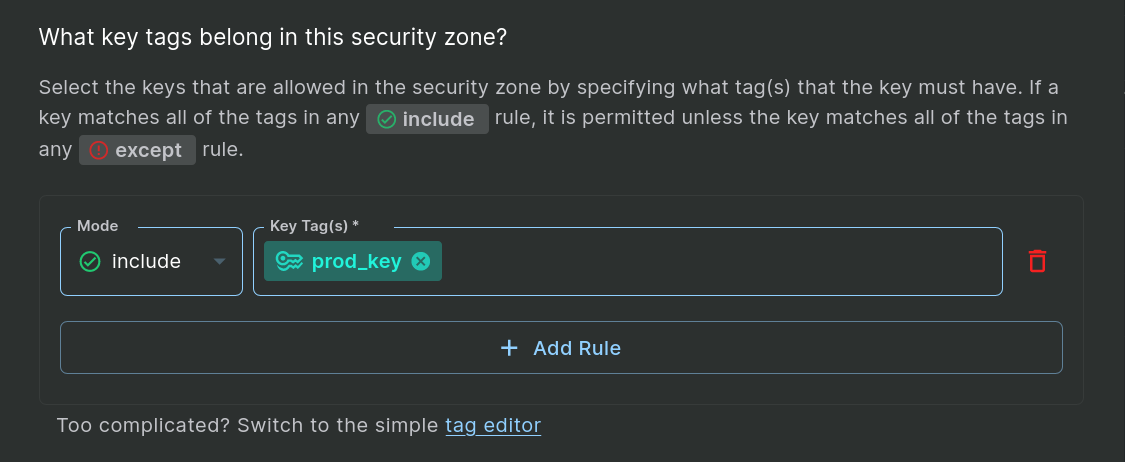
The next step when creating a zone is to indicate which keys are allowed on hosts in the zone. Just like picking hosts by tag, you pick keys by tag using “include” and “except” rules. We want to allow keys tagged “prod_key” on our prod hosts, so we will enter that as the key tag that belongs in the security zone:

Step 2: Include a Single Key Tag
Step 3: Security Zone Details
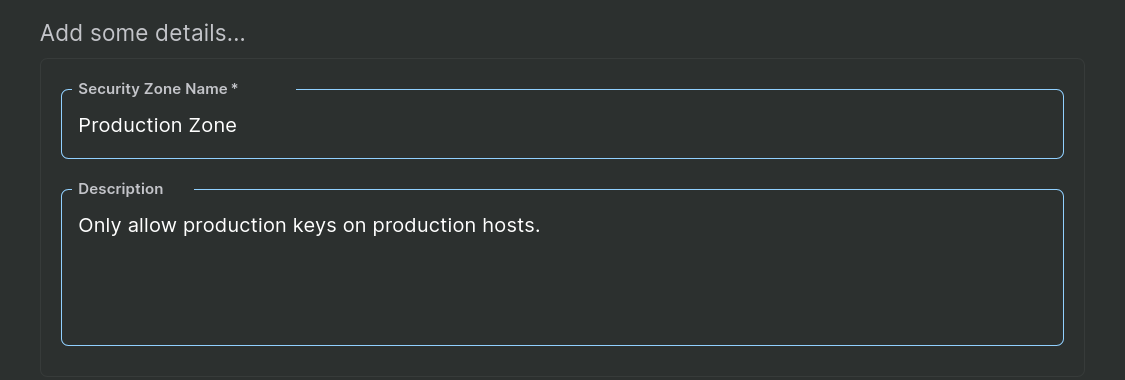
Finally, the last step of creating a zone is to give it a name and optional description:

Step 3: Adding Zone Details
When you save this zone, you will start getting alerts from any future scans that include recon_user_list_all (which is the recon sandfly which gathers users’ ssh_authorized_keys data) and finds SSH keys on hosts that are not tagged with the permitted key tags.
In this example, if you were to add key k1 (a key that is not tagged “prod”) to host h3 or h4, it would be a zone violation since it is not a key permitted by the zone.
Updated 19 days ago